Can you add Apps to the App Launcher in Office 365? With the continuous adding of new innovations and features by Microsoft, it is very easy to add single sign on apps to improve the user experience. For example, if you want to add a specific HR app to help users access tools without having to go to the external website, you can! Can you add a Twitter app to Office 365 for single sign on to your organization's Twitter account? Yes, you can! There are hundreds of apps to choose from.
Use Microsoft Azure AD as an administrator to add and assign apps. So exactly how do you add apps to the App Launcher in Office 365? Check out these easy steps:
First, log in as an administrator in the Office 365 portal.
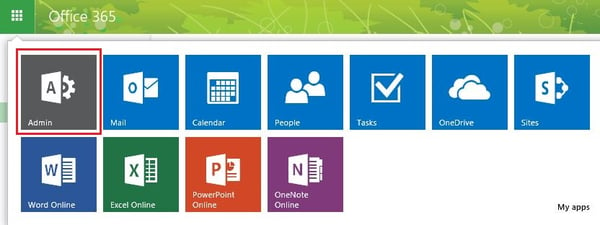
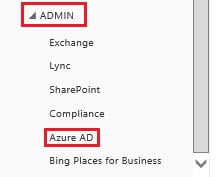
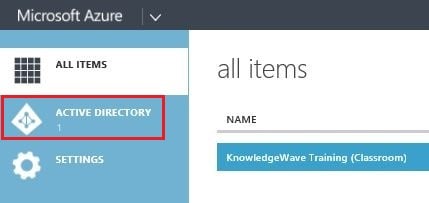
Once in the Office 365 Administration page, click the Azure AD link in the Admin section on the bottom left of the screen.
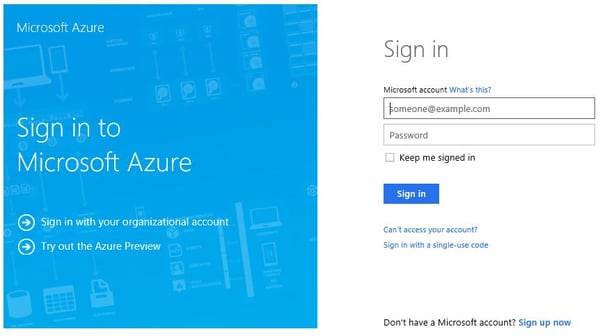
Microsoft Azure will need to be set up beforehand. If it is already configured, you will be brought to the Azure Portal to log in.
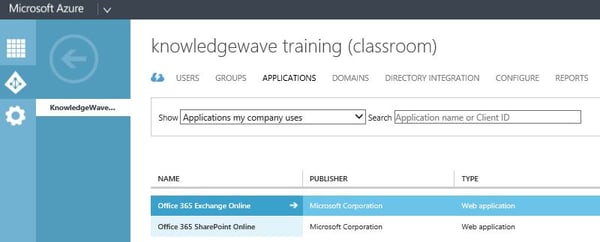
Click on the directory name and you will see the configuration dashboard for Azure AD along the top. Click the APPLICATIONS and then the ADD button on the bottom of the screen.

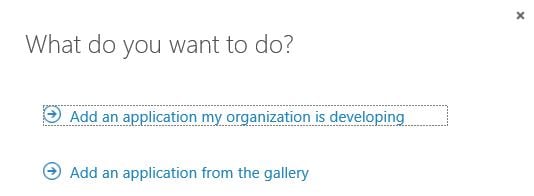
You’ll see a popup window asking if you would like to add an application that your organization is developing or add an application from the gallery, which is a list of all the available Azure Apps. I’ll choose Add an application from the gallery.
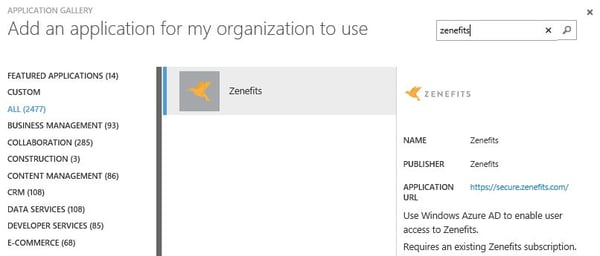
Once in the gallery, you can search or browse around for an app that you would like to add. There’s a pane on the left broken down by category.
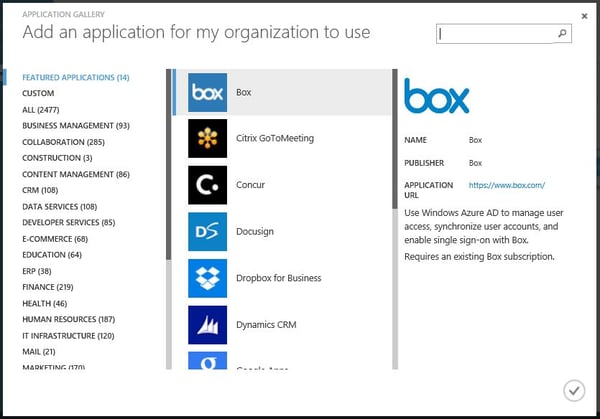
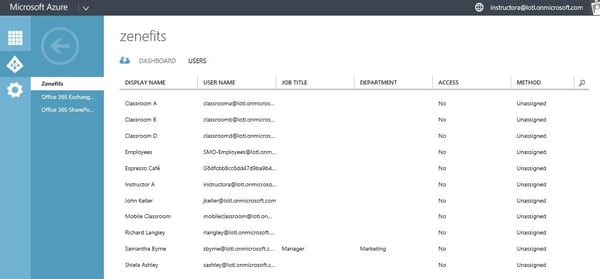
I’ll search for and choose to add Zenefits. Click on the app and then click on the checkmark.
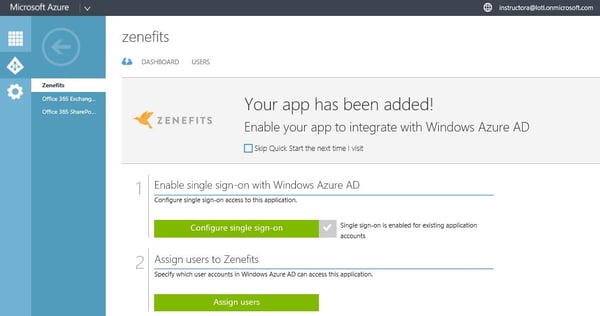
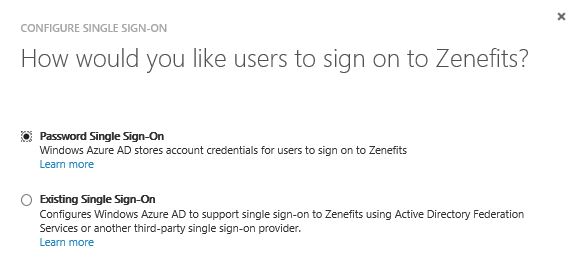
Once the app is added, you’ll see a configuration dashboard for the app. Here, you’ll have the choices to configure single sign on for the app. You may also see a choice for configuring user provisioning.
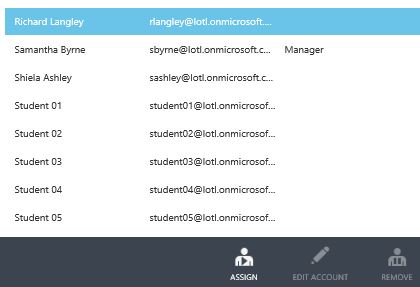
Next, I’ll assign the App to specific Office 365 users by choosing users and clicking on ASSIGN on the bottom of the screen.
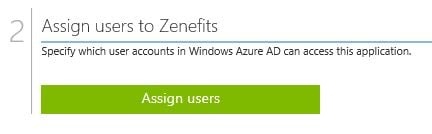
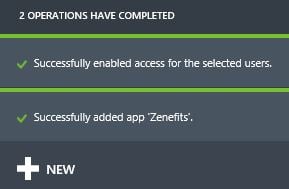
You’ll see a message on the bottom of the screen letting you know that it was successful!
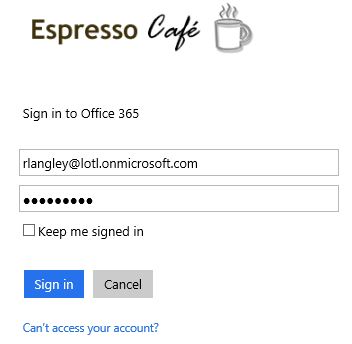
Now the user will need to sign in to their Office 365 account.
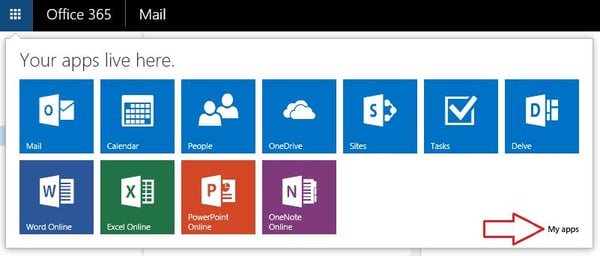
They will need to click on the Apps Launcher and select My apps.
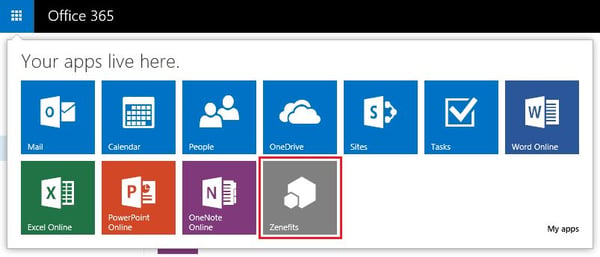
Find the app that you would like to add to the App Launcher and hover over the tile. Click on the three dots and choose Pin to app launcher.

Now, when the user clicks on the App Launcher, the tile appears. They will then need to click on it and follow the steps required for the single sign on experience!
That’s how to add an Azure App to Office 365 through the Microsoft Azure AD service, a very handy tool to have on your belt!