This is a step-by-step guide that will assist with migrating AutoText specifically from Microsoft Word 2003 to Word 2010. Migrating AutoText will save you, or more specifically, your users a considerable amount of time because they will not need to reenter their AutoText entries. How do you enter the same text repeatedly in a Word document? You can easily insert blocks of preformatted text using what is called AutoText, or what is sometimes referred to as Quick Parts. A previous blog post, Word: Automatically Insert Text with AutoText.
Steps to Copy AutoText Entries from Word 2003
1. Create a New document, name it AutoText, and save it in your Network Drive with the extension .dot.
2. Close AutoText document.
3. Open up a blank new Word document.
4. Open the Organizer. The Organizer is located under Tools / Templates and Add-Ins…
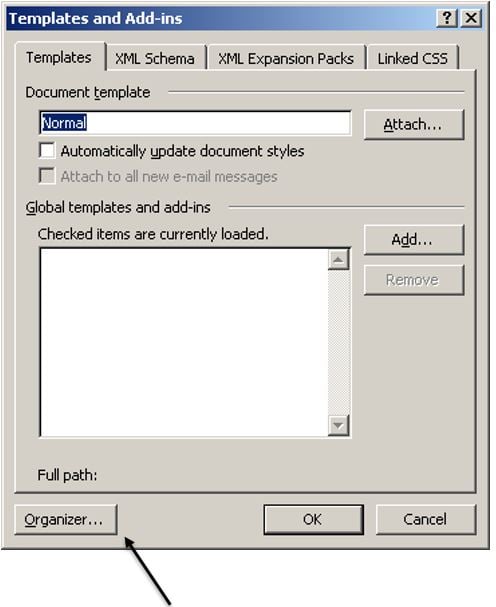
5. Click the Organizer button located in the lower left of the dialog box.
6. Click on the AutoText tab located on the top of the Organizer box.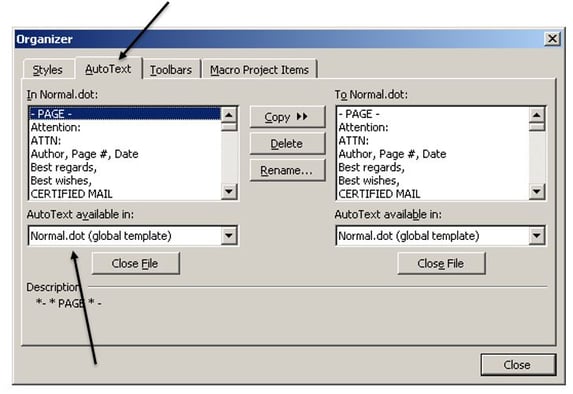
7. The left side of the screen will display all the AutoText entries located in your Normal.dot.
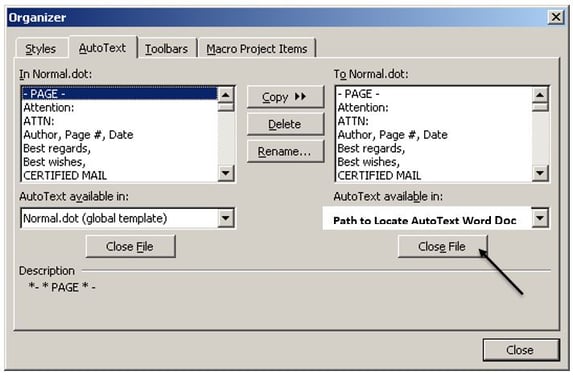
8. Click on the Close File button on the right side and browse out to find the document you named AutoText.dot located under your Network Drive.
9. On the left side click on the first AutoText entry then hold the shift key and use the down arrow to highlight the remaining entries.
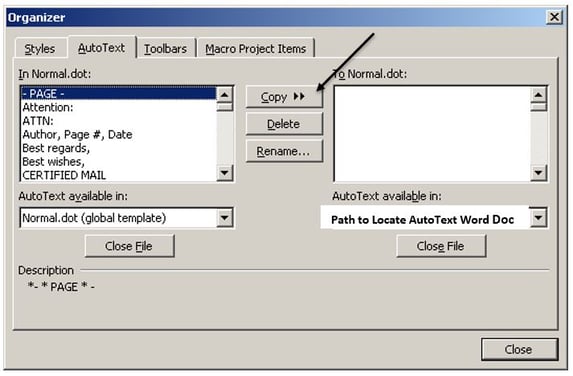
10. Click the Copy button to copy them over.
11. Close out of the Organizer dialog box.
12. Save and Close the AutoText.dot document (Network Drive).
Steps to Migrate to Word 2010
1. Log in to the New Computer and locate the AutoText document in your Network Drive.
2. Right click and Open up the AutoText document (make sure you right click to open).
3. Under the File tab choose Save As.
4. Navigate to the following location:
a. C:\Users\Users Name\AppData\Roaming\Microsoft\Word\Startup
b. You might have to create the Startup folder.
5. Save the document as AutoText.dotm (it is very important that you save it with the correct file extension).
Optional steps to modify spacing if AutoText entries are not displaying correctly.
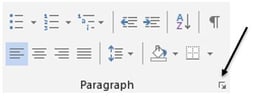
1. Click the Home tab then the Paragraph dialog box launcher located in the lower right.
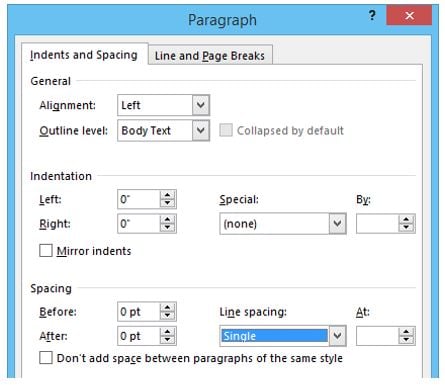
2. Change the Normal Style to No Spacing After, Single Line Spacing at 1 (This step might not be necessary. Test AutoText entries first to see how they display in new doc).
Interested in learning some top Microsoft Word Tips? We have a great 30 minute video that highlights 10 things every Microsoft Word User should know. Watch it completely free.