 Today’s leaders and top performers are adept at gathering information from others around them and putting it to good use. If you’ve ever used SurveyMonkey in your work, then I’ve got great news for you: using an Excel survey, you can get much better results than what’s offered in the free SurveyMonkey package. Surveys are a great tool for enhancing your managerial communication skills.
Microsoft Excel Online has a great feature called Survey. An Excel survey lets you quickly create questions, have multiple people respond, and capture the results in an Excel worksheet automatically. Yes, I said capture the results in a spreadsheet automatically. No monkey required.
After collecting all the data, you can analyze the results using the built-in filters or create a separate PivotTable report.
To get started you will need a OneDrive account and access to Microsoft Excel Online.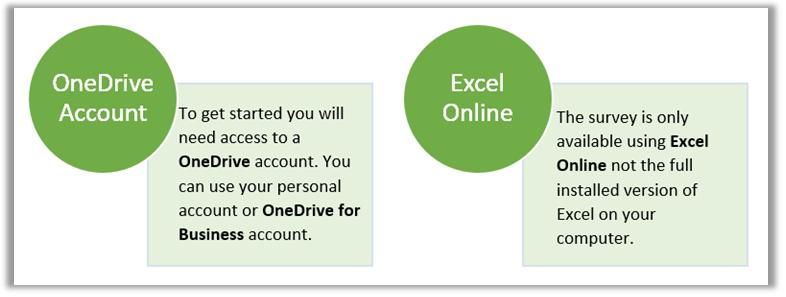
Don't have a Microsoft Account? To create a free account, browse out to login.live.com and click Sign up now. Then follow the steps to create a new account.
How to Create a Survey
I will walk you step-by-step through the process of creating and sending a survey and give you a look at how the results come in.
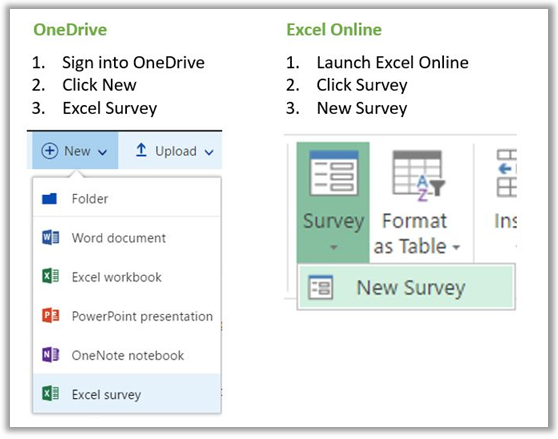
Access to Excel’s survey tool can be found in two different locations: by logging into your OneDrive account or launching Microsoft Excel Online.
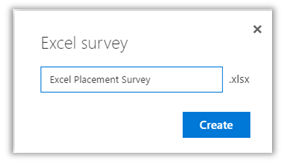
- Enter a name for your workbook.
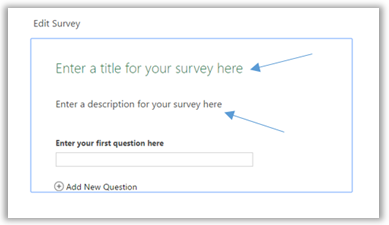
- In the Edit Survey box click on the text "Enter a title for your survey here" and enter in a title name.
- Click on the text "Enter a description for your survey here" if you would like to add a description.
It is time to add some questions. The survey I will be creating is to help determine which Excel training session best meets the user’s current skillset.
- Click in the "Enter your first question here" box (this expands the Edit Question box) and type in your question, a subtitle if necessary, response type, required value? and default answer if needed.
This is an example of a Yes or No question.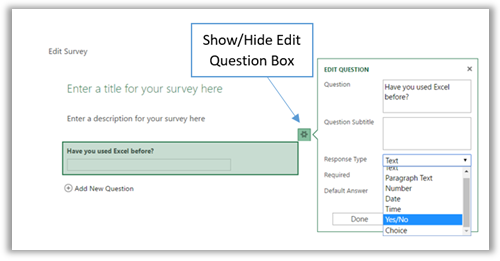
This is an example of a multiple choice question.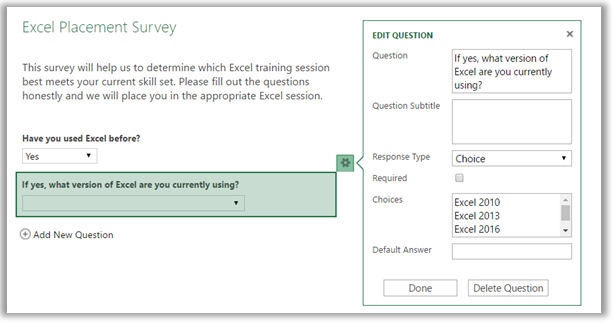
If you forget to include a question or would like to move a question to a different location within the form you can just by using the drag and drop method. Questions can be created, edited, deleted or moved up or down anytime while you are in edit mode within the survey.
- After entering in all of your questions it is time to Save and View your survey. Look for the Save and View button located in the lower right hand side of the Edit Survey box.

- After previewing and making any adjustments click on the Share Survey This provides a clickable link to email out.
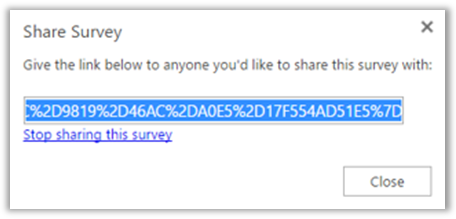
- To shorten the link copy and paste it into a site like Bitly.com. This provides a much cleaner shorter looking link.

- Paste the link into the body of an email and enter in the recipient’s address. Use the Bcc field so as not to share everyone’s email address.
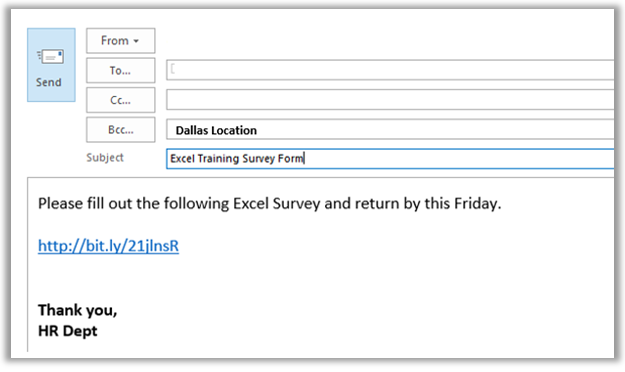
This is what the recipients will see when opening up the email.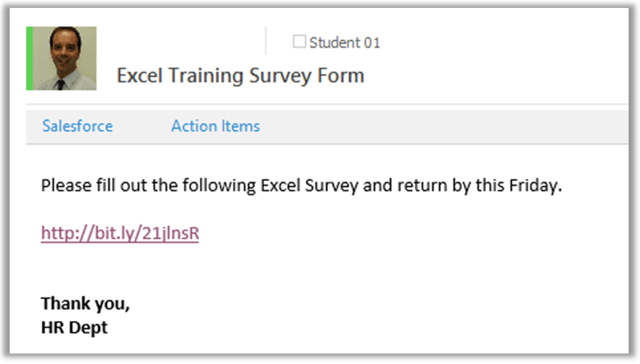
After filling out the form, click Submit.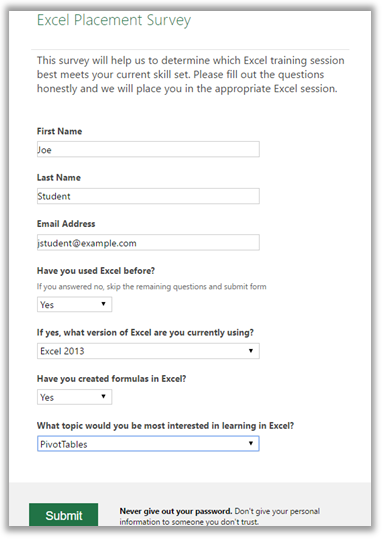

One thing I haven’t shown you yet is the workbook that was created earlier. This is really where the magic happens and why your Excel survey is a huge improvement over SurveyMonkey. Here is what it looks like including several recipient’s responses that were automatically populated, ready for you to review and analyze.
At any point you can view, edit, delete, or share the survey. Open up Excel web app and click on the Survey button.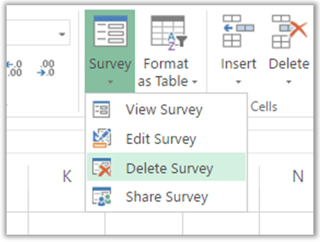
Create a survey, send it out, and view the results in a spreadsheet. Then you can use all the power of Excel to make charts and PivotTables and whatever else you want to do in order to derive value from the data you've gathered.
That is all there is to it. That's how to build and use a free, easy Excel survey.


