 Microsoft Forms is a simple, lightweight app designed to help you easily create surveys, quizzes, and polls. In a business environment, the tool can be used to collect customer feedback, develop strategies, and educate staff.
The app was originally made available to Office 365 Education license subscribers, but Microsoft recently expanded its availability to Office 365 Commercial subscribers (as a preview initially). Forms are replacing the Online Survey feature previously offered in Excel Online, which I've written about before.
Microsoft Forms also has you covered after people respond, via real time data collection. After collecting the data, you can analyze the results using Excel’s built-in filters or create a separate PivotTable report.
How to Create a Form
I will walk you step-by-step through the process of creating and sending a Form and give you a look at how the results come in. You can watch the video, and/or read on for written directions.
Step-by-step
1. The first step is to login to your Microsoft Office 365 account.
2. Click on the Forms app.
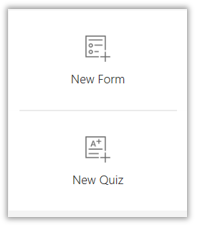
3. Click on the New Form or New Quiz button to get started. I will be creating a New Form to get feedback regarding customers' experience while visiting one of our locations.
4. Enter in a title name for your form (can contain up to 90 characters).
5. Enter in a subtitle (this is optional, and can contain up to 1000 characters).
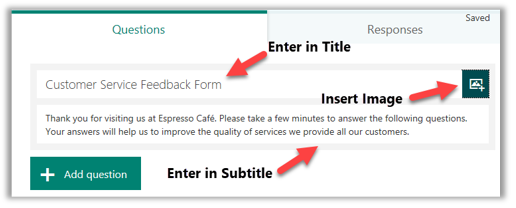
6. Click the Insert Image button to add a picture to your form (this is optional).
Now it is time to add your questions.
7. Click on the + Add question button to add your first question.
8. Choose from one of the following question types (choice, text, rating, and date).
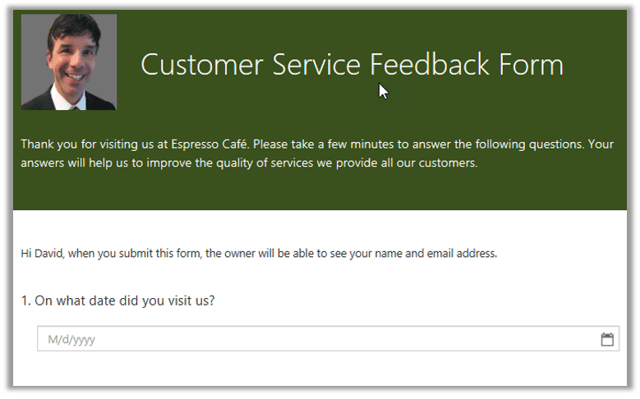
The first question will ask about the date you visited
9. To enter in a date field, click on the Date icon (you can require the question to be answered, add a subtitle, add an image, delete the question, or move the question up or down).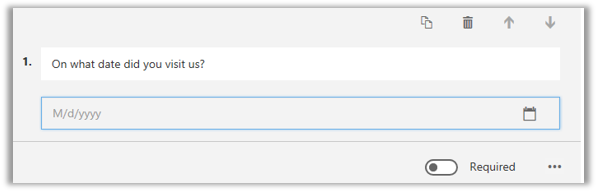
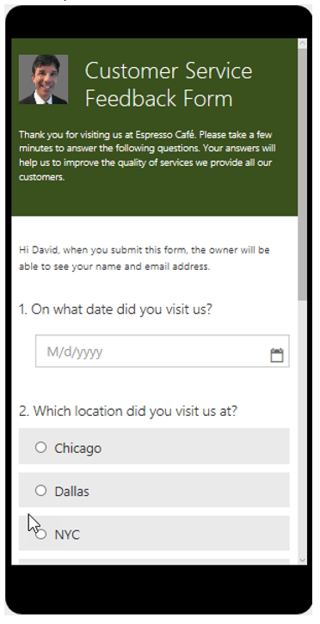
The next question will ask about the location visited
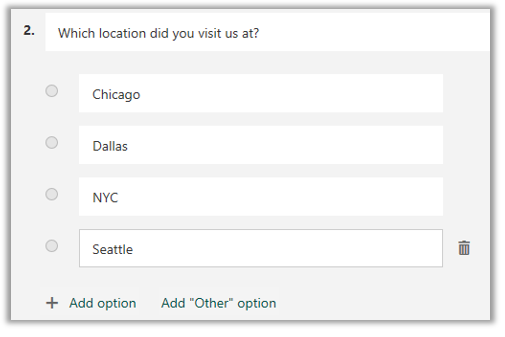
10. To enter in a drop-down list, click on the + Add question button and choose the Choice button (There will be two default options which can be deleted or changed. Additional options can also be added, answers can be shuffled, and you can allow users to check multiple answers).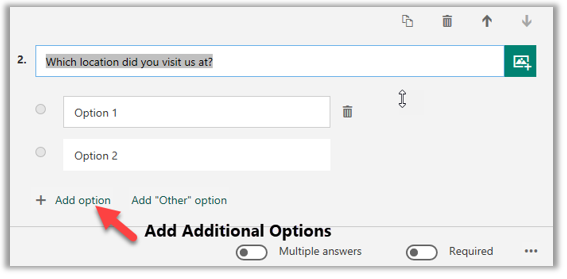
The third question will ask you to rate satisfaction with customer service
11. To enter in a Ratings field, click on the + Add question button and choose Rating (you can choose from different levels and symbols).
12. Enter in your question and subtitle (the subtitle provides users with what the numbers or star symbols represent).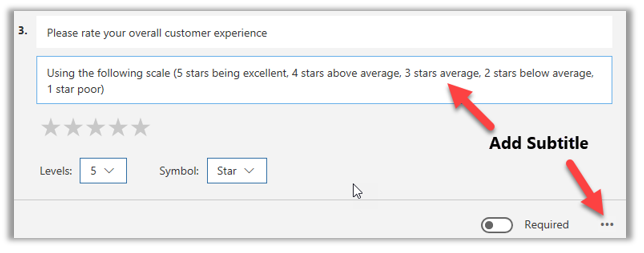
The fourth and final question will ask for any comments
13. To create a comments field, click on the + Add question button and choose Text (look for the … symbol to set restrictions).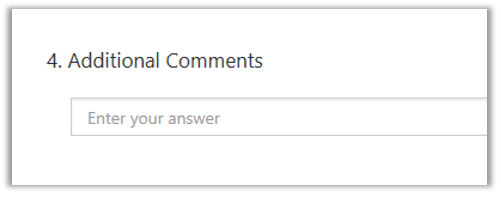
It’s preview time
Using Microsoft Forms, you have two different previews options: computer and mobile.
14. Click on the eye icon to preview your form. (You can also select from one of the stock themes or you can upload your own image to add a splash of color to your form.)
Computer preview
Mobile preview
15. Click on the arrow to return to the form.
Adjust your form settings before sharing
Before sharing your form, you will want to view the settings options to decide on who can respond, start and end dates, and whether to display the person’s name or make the form anonymous. By default, only people within your organization can respond.
16. Make the necessary setting changes then click the Share button.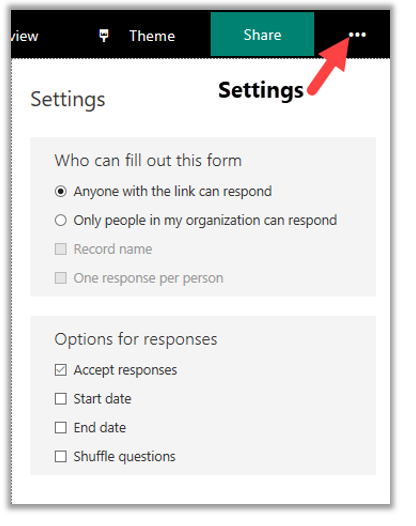
Send and collect responses
There are many options on how to share the form with others. You can copy/paste the link, send a QR-code, embed the form into a blog or webpage, or send the link in an email.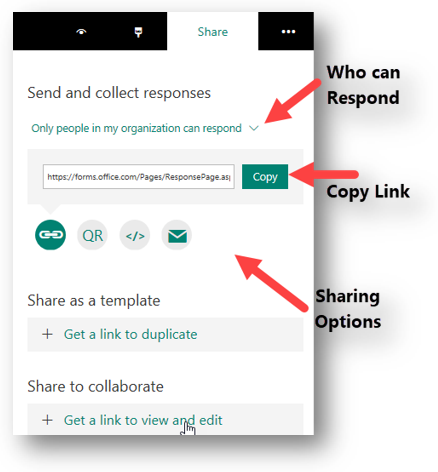
Send a form by email
17. Click on the email icon located under the Share button.
Shorten the link address
18. Right click on the link and choose Edit link (this is an optional step).
19. Change the Text to display, then click Apply.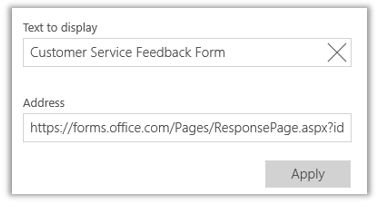
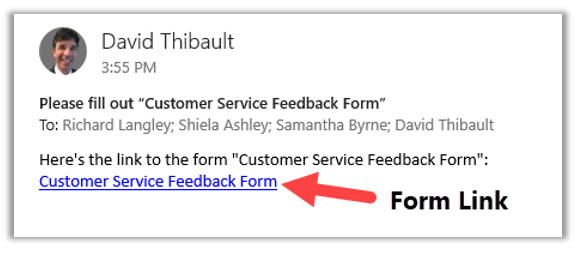
20. Add the recipients to the email message form and click send.
Here is a sample of the email message
Respond to a form request
21. Click on the sent link (depending on how the form was setup will determine whether people will need to log into their Office 365 account).
22. Fill out the form and click Submit (responses are sent back immediately to review).
View form results
23. Login to your Office 365 account, click on Microsoft Forms, and click on your stored form.
24. Click on the Responses tab.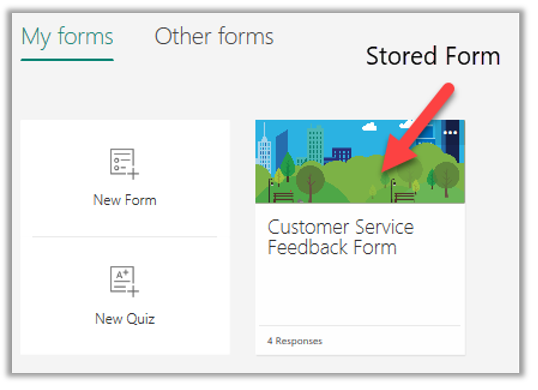
Here you will be able to view rich, real-time analytics providing you will individual results as well as summary information. You can even open your results into Microsoft Excel for additional data analysis. Printing and deleting options are located under the ellipses (…).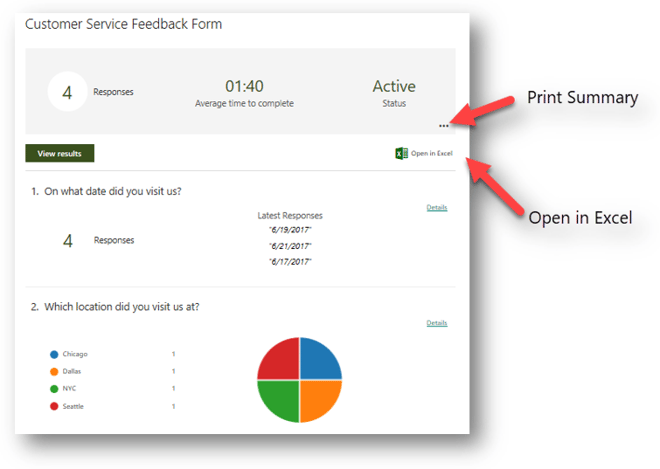
View and analyze your data in Microsoft Excel
25. Click on the Open in Excel icon.
26. Your data is now exported into an Excel table (use the filters to only view specific records).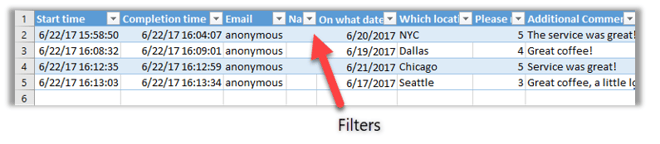
27. Save the Excel file before closing.

That is all there is to it. Give it a try and let us know how you did.
You might also like...
 |
 |
 |
| Focus on the Office 365 Features That Matter Most to Your Company | Learn Excel Online and Step up to New Responsibilities | Software Training Online: 90-Minute Classes |


